How do I use categories?
 Categories help you track where your money actually comes from and goes to, and they enable you to use reports and budgets to manage your finances more effectively. Once you have created accounts and added transactions, the real strength of iBank comes in assigning categories to those transactions. To do so, create a transaction or edit an existing one, and type a category name in the category field. iBank will suggest the names of existing categories as you type: when the drop-down list of category names appears, use the Up and Down Arrows on your keyboard to highlight one, then press Tab to accept it.
iBank includes default sets of "Home" and "Business" categories which you may choose when you create a new document, but you can customize each document's category list to your heart's content.
To view the main category list:
Click "Categories" in the "Manage" section of the source list. Your categories will appear to the right:
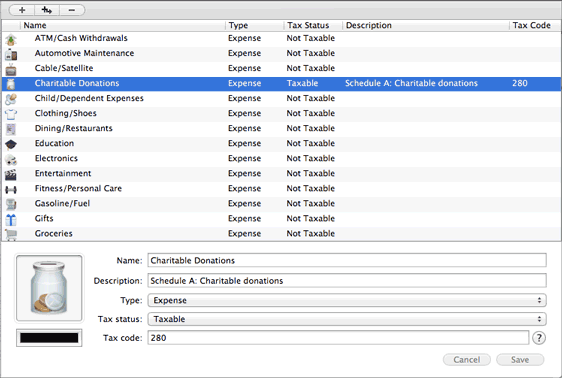
Here you can see all of your categories organized by Name, Description, or other criteria - just click the header at the top of any column to sort the list according to the information in that column. Click a second time to reverse the direction of the sort. Categories that contain sub-categories will display small disclosure triangles next to their names: click one of these triangles to view that item's sub-categories. For more information about working with categories, see Adding & Deleting Categories.